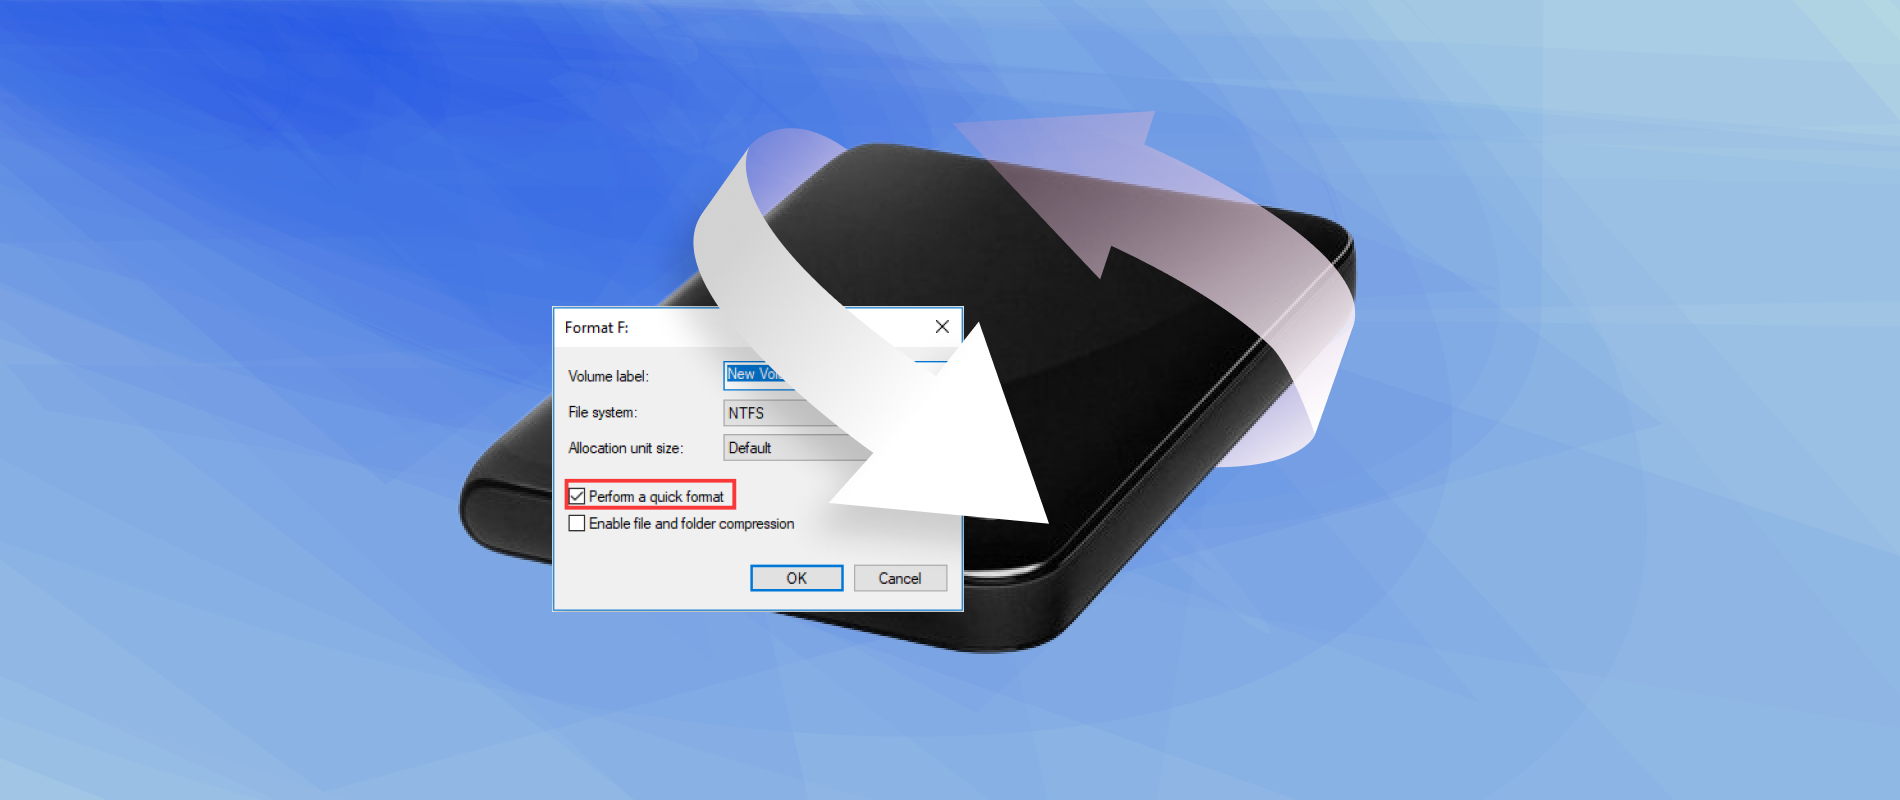
It isn’t possible to “undo” the process of formatting a storage device in the literal sense, but you can recover the data lost during the operation depending on the type of format performed. There are two types of formatting – “Quick” and “Full.” As its name suggests, a “Quick” format is the faster of the two options, erasing all contents of a storage medium but leaving behind file remnants that can be recovered using certain methods. “Full” formats, on the other hand, are typically irrecoverable. Below, we’ll discuss the best way to perform quick format recovery.
How to Undo a Quick Format Using Specialized Software
The quickest and most effective DIY method of retrieving files lost during a “Quick” format is by using powerful data recovery software. These types of programs specialize in rescuing data from a host of different data loss scenarios, including accidental deletion, light device corruption, and “Quick” formats. Just make sure the storage devices are undamaged and not in need of repair. That being said, we’ve come up with a list of the three best recovery software that we’d recommend to unformat a hard drive.
Option A: Disk Drill
Drill Drill is our top pick when it comes to data recovery, thanks to its unmatched recovery rates, sleek yet accessible user interface, and compatibility with an impressive range of storage devices. It also supports an impressive list of file formats and comes with some useful extra features, like the ability to back up drives, S.M.A.R.T monitoring, and a secure data vault.
You can try out Disk Drill’s recovery capabilities and all of its features through the program’s trial version, though you can only retrieve up to 500 MB worth of data on Windows.
Follow the quick step-by-step instructions below to get back your formatted files using Disk Drill:
- First, log onto the Cleverfiles website and download the Disk Drill setup file.
- Then, run the setup file and continue the installation wizard until the program is successfully installed.
- Ensure that the formatted storage device is properly connected to your computer, then launch the app. From there, select the appropriate device from the list of available storage mediums and click Search for lost data.
- This will start Disk Drill’s scanning process, where it will search for all the possibly recoverable files on the drive. As the scan progresses, you can opt to browse through the files that have been located so far by clicking the Review found items button in the upper-right corner. You can also just wait for the scan to finish first, then click the same button after to review a full list of the recoverable files.
- Next, navigate through the found files and folders until you locate the data you want to retrieve. You can utilize the categories on the left pane or the search bar on the top-right corner to track down specific file names or formats. After that, select the data you want to rescue by clicking the checkbox beside the file names, then hit the Recover button on the lower right to continue.
- Upon clicking, a small window will pop up where you’ll be asked to specify a location to store your recovered files. You must select a different storage device than the one you just scanned, or you’ll encounter an error. Click OK to proceed.
- Disk Drill will now try to retrieve your chosen files. A completion message will show once this process is finished. You can then click the Show recovered files in Explorer button, and you’ll be taken right to the restored files.
Option B: R-Studio Data Recovery
For data recovery veterans looking for a more complex program, R-Studio Data Recovery may be the better choice. It’s one of the most comprehensive options on the market, offering tons of features and unbeatable flexibility in terms of file recovery. It’s also a cross-platform program that’s available for Windows, Mac, and Linux machines. On the other hand, R-Studio Data Recovery will likely prove to be too technical for everyday users. Furthermore, its pricing system is overly complicated, and its demo version only allows a 256KB recovery limit.
Here are the steps to recover a formatted drive using R-Studio Data Recovery:
- First, download the program from the R-Studio website.
- Then, run the downloaded file and complete the installation process.
- Select your formatted drive from the list of available storage devices. From there, click the Scan button near the top of the window.
- After that, a pop-up window will appear where you can dictate certain scan settings. It’s a good idea to click the Change button and untick all the file systems except the one you’re about to scan. This speeds up the process a bit. Then, once you’re ready, click the Scan button in the bottom-right corner.
- R-Studio will now start scanning your device. You can track the progress of this operation through the bar at the bottom of the window.
- Once the scan is done, uncollapse your drive from the list of storage devices and highlight the option labeled “Recognized.” Then, click the Show Files button at the top-left corner.
- After that, tick the checkboxes next to the files you want to recover and click the Recover Marked button.
- Upon clicking, another pop-up will appear where you’ll have to decide on an output folder. Click the “…” button on the top-right corner and choose the folder where the recovered files should be saved. Make sure this is on a different drive than the one you’re trying to recover from. Click OK to finalize the recovery process.
Option C: Recuva
Recuva is a serviceable data recovery program that offers a completed free version and an easy-to-use, low-profile design. In addition, there are paid versions with extra features on sale, in case you want all the bells and whistles. Its retrieval capabilities aren’t as effective as the other entries on our list, and its dated visuals could use an upgrade, but it’s a solid recovery solution nonetheless.
This is how you can retrieve lost files from a “Quick” format using Recuva:
- To get started, download Recuva from the official CCleaner website.
- Then, launch the downloaded file and follow the instructions until installed.
- Next, run Recuva, and a wizard will appear. Click Next on the first screen.
- Select the type of files you want to recover. If it’s a mix of various different file types, leave it on the All Files option and click Next.
- Since you’re trying to recover a formatted drive, select the In a specific location option and input the drive letter of the storage medium you want to retrieve. Once done, click Next.
- You’ll want to enable the Deep Scan option on this screen, then click the Start button.
- Recuva will now scan your device. Since the Deep Scan option was enabled, this could take a fair bit of time.
- Tick the checkboxes next to the files you want to rescue and click the Recover button.
- Upon clicking, a pop-up will show where you’ll need to decide on the recovery location. Once done, click OK to finalize the process.
- Finally, a completion screen will appear, summarizing the outcome of the recovery process.
Frequently Asked Questions (FAQs):
How do I undo quick format for free? The best way to undo “Quick” formatted hard drives without having to shell out money is by using a top-notch and free data recovery program. Keep in mind, however, that by “undo,” we mean retrieving the lost data. Disk Drill’s trial version gives you a 500 MB data recovery limit, while Recuva has a completely free version despite not being quite as effective.
How do I recover an accidentally formatted drive? First off, you can only recover an accidentally formatted drive if a “Quick” format was performed. If that’s the case, you can use a data recovery program to get back the deleted files. Should that not work, you can also try reaching out to a data recovery service to see if they can help and how much it would cost.
Can I recover files after a quick format? There is a good chance that you can recover files after a “Quick” format, but it all boils down to whether or not the formatted files have already been overwritten. If they haven’t been overwritten yet, then an effective data recovery program should be able to retrieve them.
Can you recover a formatted SSD? SSD recovery works just like HDDs and any other storage medium, and you should be able to retrieve files from a formatted SSD, assuming it was a “Quick” format and the files haven’t been overwritten yet.